
Blog
Why Stand-Up Pouches Leak: Failure Modes and the Numbers
Stand-up pouches leak at three sites: the bottom gusset fold, the side seals where the gusset meets the panel, and the top seal where the zipper is welded in. Each site fails for a different reason, and the leak usually appears after shipping rather than on the line — which is why the fix is often a specification change rather than a line adjustment. This guide covers the three failure sites, the tests that find each one, and the specification changes that stop them.
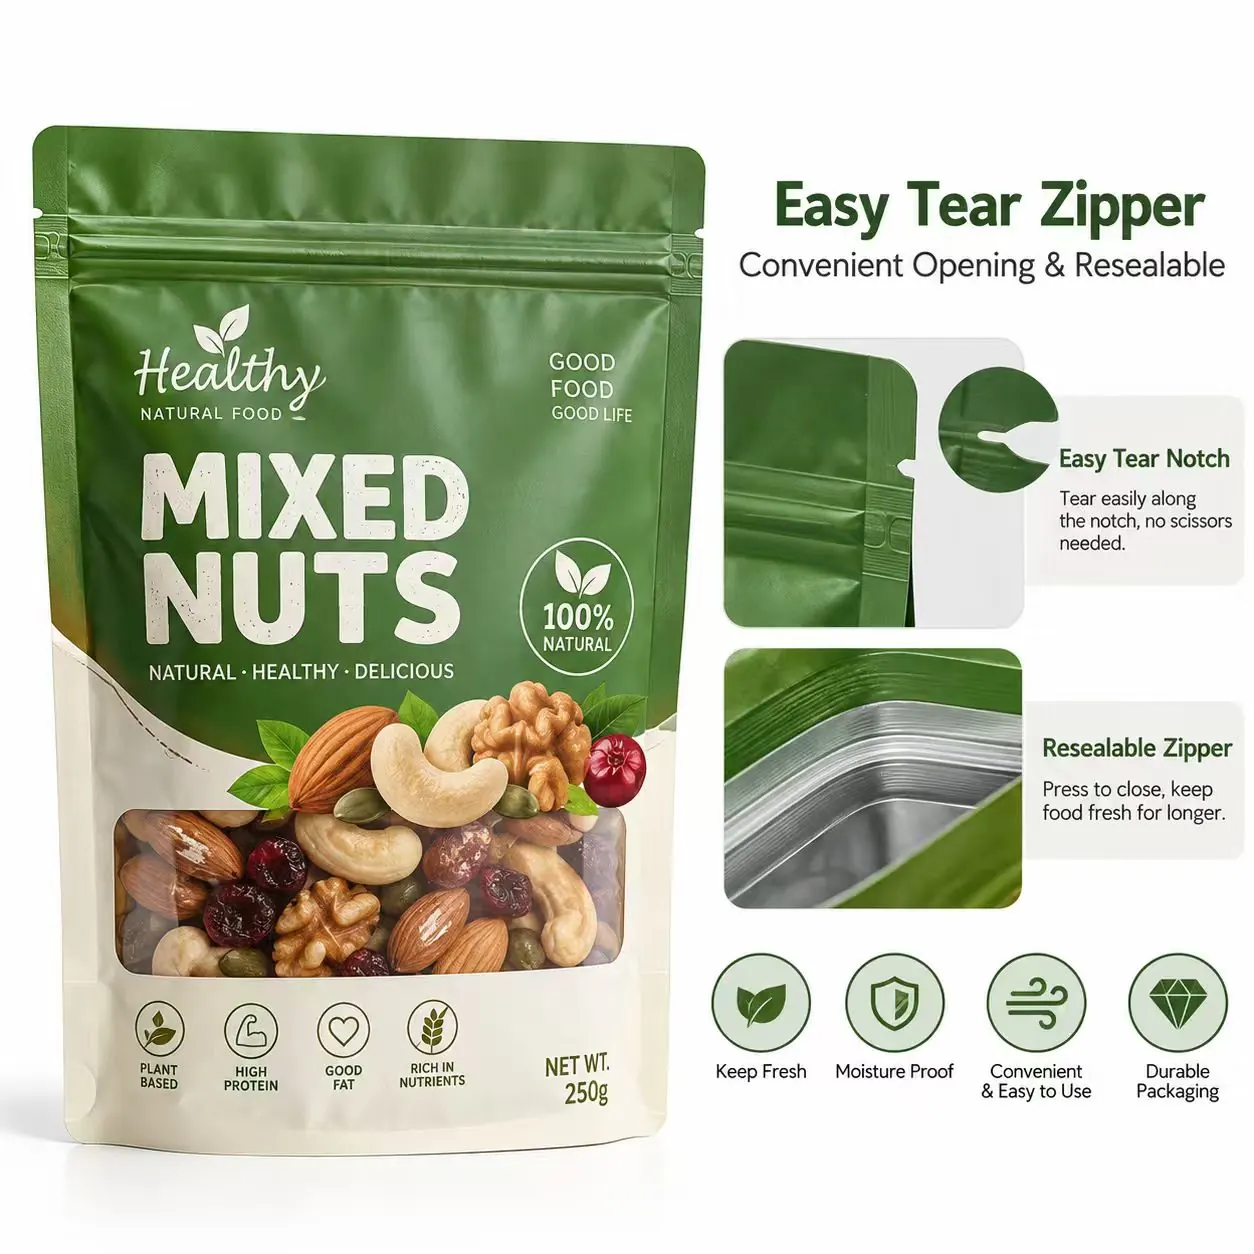
A brand gets a complaint: a pouch leaked in transit. The first instinct is to blame the pouch supplier, and sometimes that is correct. But field failures rarely arrive with a label attached, and when you trace them back, the same pattern shows up again and again — the failure started weeks earlier, at one process parameter that drifted slightly outside spec, not at the moment the pouch split.
Understanding which failure mode you are actually dealing with changes the fix entirely. A seal failure caused by product contamination in the seal zone needs a different intervention than one caused by seal bar temperature drift. Running the same corrective action on both wastes a production run and does not solve anything.
The four categories a pouch failure falls into
Sort the complaints that come back from the field across a production year and they fall into four buckets, and the split is heavily uneven. The proportions below are an internal estimate rather than a published benchmark — treat the ranking as the reliable part and the percentages as indicative:
- Seal integrity failures — roughly 55% of the complaints logged. The seal did not hold, or held unevenly. Most of these trace back to the filler rather than the pouch: see why pouches mis-seal on the filling line.
- Delamination — about 25%. The laminate layers separated, usually at a fold or a crease.
- Structural and geometry failures — part of the remaining 20%. The pouch will not stand, the gusset is wrong, the panel distorts. That decision is usually made upstream: the format comparison sets out what each structure does and does not do.
- Closure failures — the rest. The zipper tore the top panel on first open, or will not reseal.
Two things follow from that distribution. First, if you are investigating a complaint, the odds are it is a seal. Second, and more useful: the failure modes that hurt brand perception most are not always the most frequent. A half-millimetre void in a seal channel can pass a routine pressure test and still let moisture in over a six-month shelf life. The pouch did not leak on the shelf. It failed quietly, and the customer found stale product.
Seal failure: three variables and one contaminant
Heat sealing is a three-variable process — temperature, pressure and dwell time — and the seal window is the combination of all three that produces a reliable bond. Move outside that window in either direction and the failure looks different:
- Too cold. The sealant layer does not reach full melt. You get a cold seal: it looks closed, it may even pass a casual pull test, and it fails under load.
- Too hot. The sealant over-melts and squeezes out of the seal zone. The effective bonding width collapses, and the seal that remains is thinner than the one you specified.
- Wrong pressure or dwell. Pressure and dwell interact with temperature. A seal made at the right temperature with insufficient dwell is under-bonded in exactly the same way as one made too cold.
The fourth cause is not a setting at all. Contamination in the seal zone — product, oil, powder or moisture trapped between the films during filling — physically prevents the sealant layers from fusing. High-fat and high-protein products are the worst offenders, because splash or vapour reaches the seal jaw before it closes. This is the single most common root cause of micro-leaks in food pouches, and it is invisible on the finished pack.
The thresholds that separate a seal from a leak
These are the measured values worth putting into a specification, because they turn "the seal looked fine" into something you can accept or reject:
| What you measure | Threshold | What it catches |
|---|---|---|
| Seal peel strength — retort / high-temperature | Below 8 N/15 mm → hold production | Under-bonded seals before they ship |
| Seal peel strength — ambient dry goods | Below 4 N/15 mm → investigate | The same, at the lower load a dry-good pouch sees |
| Pressure decay, unrestrained pack | More than 0.5% loss over 30 s at 50 mbar | Micro-leaks in the seal channel |
| Effective seal width, side-gusset pouch | Below 6 mm → manual reinspection | Seals squeezed thin by over-temperature |
| Bottom gusset seal void | Void area above 3 mm² | Unbonded corners that open under load |
| Laminate bond strength, high-flex PET/CPP | Below 3.2 N/15 mm | Flex-crack delamination at the gusset fold |
Note the last line. The general minimum bond strength for laminates is often quoted at 2.0 N/15 mm. For film combinations going into applications that flex — a pouch that gets folded into a carton, or a bottom gusset that creases hard — that margin is not enough, and a higher specification is the safer choice. If the pouch also goes through a retort or microwave process, the seal specification is a different document entirely; retort and microwave pouch requirements covers those thresholds.
A word on how you measure. Seal width verification in-line is typically done with camera-based inspection at a tolerance of about ±0.3 mm. Anything that fails the tolerance goes to manual reinspection rather than straight to reject, because vision systems misread at print edges more often than they miss a real defect.
Delamination: the failure that shows up six weeks late
Delamination is the one that surprises brands most, because the pouch passes incoming inspection and then fails on the shelf. The outer printed ply starts to split at the bottom gusset fold. It looks like blistering or a whitened patch.
The cause is usually adhesive that has not finished curing. Solvent-based laminating adhesives need a defined curing period in a controlled environment — typically 40–50°C in the aging room — for cross-linking to complete. Here is the counter-intuitive part: if the aging room temperature wanders by more than about ±8°C, bond strength can fall after lamination rather than rise. A laminate that measures 3.5 N/15 mm at 24 hours can measure 2.1 N/15 mm at 72 hours, which is backwards from what the process assumes.
This is why the shipping calendar matters as much as the specification. When an order ships on day four post-lamination to hit a logistics window, the adhesive may not be fully cross-linked, and nothing on the pouch will tell you.
The gusset corner: where geometry becomes a seal problem
A flat-bottom pouch has a structured base, which means four to six layers of film meet at each corner. At those intersections heat transfer drops and pressure distributes unevenly, so the seal window narrows exactly where mechanical stress during filling and distribution is highest. Small unbonded zones form there and stay invisible until the pouch is loaded.
Two practical implications. Crease angle tolerance drifts on the converting machine during a shift, and holding it tighter than about ±1° is difficult to sustain. Since film elongation is a material property you control at the source, while crease angle is a machine setting that drifts, a higher-elongation film is often the more reliable fix than a tighter tolerance.
And laminate gauge matters more than most buyers expect: a thickness deviation of about ±10% across a reel can push the optimal sealing parameters out of a consistent window, so seals vary in strength across a single production run even though nothing in the settings changed.
What to confirm before you approve a bulk order
- Ask what the seal window is, not just what the seal strength is. A supplier who cannot state temperature, pressure and dwell ranges for your structure has not characterised the process. The questions that separate a converter from a trader are a useful filter before you reach that point.
- Test with your own product, not with water. Contamination-driven seal failure cannot be reproduced with a surrogate fill.
- Ask which adhesive system is used and how long it cures, then check the ship date against it. This is the most commonly skipped question and the most common cause of late delamination.
- Agree the acceptance thresholds in writing before the run — peel strength, pressure decay and seal width, with the test method named.
- Confirm the film structure is specified by gauge, not by name. "Premium laminate" is not a specification; a layer stack with thicknesses is.
- Run a transit simulation on a filled sample, not an empty one. Most gusset and flex-crack failures need load to appear.
None of this is exotic. It is the difference between buying a pouch and buying a pouch that performs the way the sample did — and between a supplier who can tell you why a seal held and one who can only tell you that it usually does. When the bulk order does diverge from the sample, the cause is almost always one of a known set.
Sources and standards
Primary references for the test methods and material rules referred to in this guide:
- ASTM F88 — Seal strength of flexible barrier materials (ASTM)
- ASTM F1140 — Burst testing of unrestrained flexible packages (ASTM)
- ASTM F2095 — Internal pressurization failure resistance of unrestrained packages (ASTM)
- 21 CFR Part 177 — Indirect food additives: polymers (US eCFR)
- EU Regulation 10/2011 — Plastic materials in contact with food (EUR-Lex)
Frequently asked questions
Why does my stand-up pouch leak when the seal looked fine?
Because most seal failures are invisible on the finished pack. Three things cause it: seal bar temperature, pressure or dwell time drifting outside the process window; contamination in the seal zone from product splash, oil or powder during filling; and unbonded zones at the four-to-six-layer gusset corners. A seal can look closed and still fail a pressure decay test. That is why the test matters more than the visual check.
How do I test a pouch seal properly?
Two tests cover most of it. Pressure decay — inflating the sealed pack and measuring how much pressure it loses over 30 seconds at 50 mbar; more than 0.5% loss points to a leak in the seal channel. And peel strength, measured in newtons per 15 mm of seal width. For ambient dry goods, treat anything below 4 N/15 mm as a flag; for retort pouches, the threshold is much higher, around 8 N/15 mm.
My pouches delaminated on the shelf six weeks after delivery. Why?
Almost always incomplete adhesive cure. Solvent-based laminating adhesive needs a controlled aging period — typically 40–50°C — for cross-linking to finish. If the aging room temperature swings by more than about ±8°C, bond strength can actually drop after lamination instead of rising. A laminate measuring 3.5 N/15 mm at 24 hours can be down to 2.1 N/15 mm at 72 hours. If the order shipped on day four to meet a logistics window, the adhesive may not have been fully cured.
Why is the bottom gusset the weakest point on a flat-bottom pouch?
Because four to six layers of film meet at each bottom corner. At those intersections heat transfer drops and pressure distributes unevenly, so the seal window narrows exactly where filling and distribution load the pouch hardest. Any unbonded area above about 3 mm² is a void worth rejecting. A higher-elongation film usually helps more than trying to hold the crease angle tighter than ±1°, because film properties are controlled at source while crease angle is a machine setting that drifts during a shift.
What should I specify to avoid seal problems in the first place?
Name the test and the threshold, not the adjective. Ask for the seal window — temperature, pressure and dwell ranges for your specific structure. Specify the film by layer gauge rather than by name. Agree peel strength and pressure decay acceptance criteria in writing before the run. And test with your own product rather than with water, because contamination-driven seal failure cannot be reproduced with a surrogate fill.
Have a pack like this to quote?
Send the product, how it will be filled and stored, the format or an area to advise on, and your quantity. You get back a named structure, a colour count, a minimum tier and a line-by-line price — usually within one working day.