
Blog
From Artwork to Printed Pouches: Dielines, Color Modes and Proofs Explained
Ask any pouch factory where orders lose time and few will say printing or lamination. The honest answer is artwork — the stage where a logo file, a dieline and a color expectation meet each other for the first time. Buyers who understand this stage get faster proofs, tighter quotes and fewer surprises. This guide walks through the whole chain: dieline, print files, color modes, proofing and what to send a supplier so nothing stalls.
It is written from the converting floor's point of view, because that is where the problems actually surface. Everything here applies whether you print with us or with anyone else.
What a dieline actually is
A dieline is the flat, printed-once-and-folded template of your pouch: every panel laid out flat, with the seal flaps, gussets, zipper and valve positions drawn in. A finished stand-up pouch is a flat sheet of laminate that gets folded, sealed and gusseted — the dieline is the map of that sheet.
Three things surprise buyers looking at their first dieline:
- The front and back panels are side by side, not separate files. Front, back, and side gussets live on one continuous layout, so your design has to flow across the whole template.
- Seal flaps eat margin. The outer edges of each panel disappear into the seals. Anything critical — logo, claims, barcode — belongs inside the marked safe area, or it gets sealed into the seam.
- Every format has its own dieline. A flat-bottom pouch is a different flat layout from a stand-up pouch of the same volume. Change the format and the artwork has to be rebuilt on the new template — this is the single most common rework request we see.
We supply a dieline matched to your format, size and closure positions before you design anything ‖ free, and with the safe areas already marked. Designing on anything else is guesswork.
Why pouch printing is printed in mirror (and upside down)
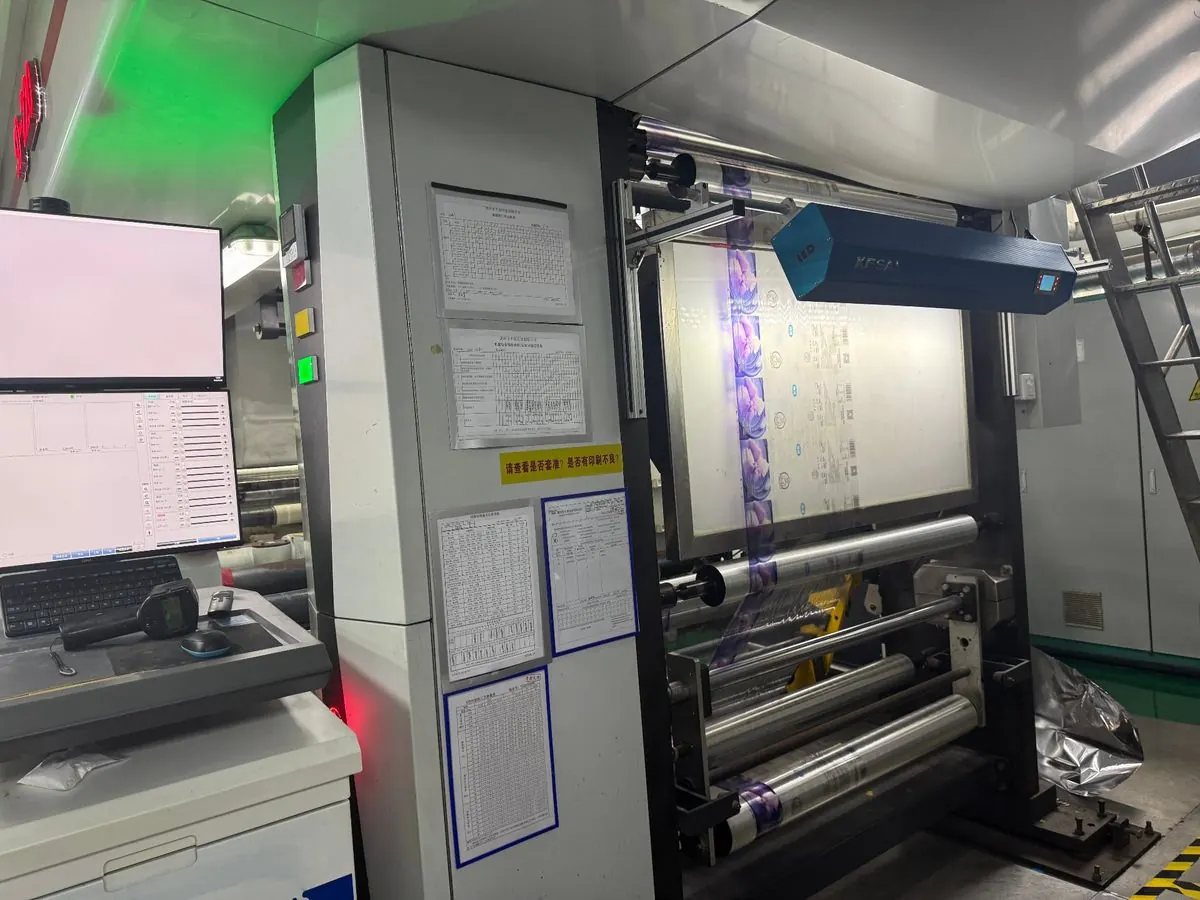
On a laminated pouch, the ink does not sit on the outside surface the way it does on a carton or a label. The outer film is reverse-printed on its reverse side, then laminated face-down against the barrier layers. The ink ends up trapped between film layers, viewed through clear film.
This is not a quirk — it is why printed pouches survive abrasion, condensation and a distribution network without the design scratching off. But it changes how artwork must be prepared:
- Files are built mirrored, and the layers stack back-to-front. Your prepress team handles this — but they need to know early, or the whole file gets rebuilt.
- The white ink layer is printed first, behind your colors. Anything you want to appear metallic uses the reverse logic: leave an area un-printed with white and the foil or metallized film shows through as a “window” shine.
- Fine text and hairlines read slightly differently through film. If your design lives on 6 pt type, ask for a proof before committing to the layout.
CMYK vs spot color: how color actually works on a pouch
Paper printing is usually four-color process (CMYK). Laminating printing is mostly spot color: every color in your design is its own ink, mixed to match — typically a Pantone reference — and printed from its own cylinder or plate. Our lines run up to 10 colors, which covers the vast majority of food and pet food designs with room to spare for a white layer.
What this means for you, practically:
- Brand color accuracy is better with spot color than with CMYK — a dedicated ink matched to your Pantone beats a four-color simulation every time. Give us the PMS numbers, not a screenshot.
- Every added color is a set-up cost. A two-color design is cheaper to set up than an eight-color photographic one, at any quantity. Simplification is a real cost lever, not a compromise.
- Gradients and full-bleed photography are possible but they prepress differently — tell us early if your design depends on them so we can plan cylinder screening.
The file checklist your printer wishes you followed
Most artwork delays come from a handful of repeat issues. The list below is what our prepress team checks first on every incoming file:
- Vector for text and logos — AI or press-ready PDF, not a photo of a logo. Raster logos redraw slowly and add cost.
- Fonts outlined — live fonts break on machines that do not have them installed.
- Minimum text size around 6 pt and minimum line weight per your printer's spec — smaller than that, reverse printing and film stretch start eating legibility.
- Images at 300 dpi at print size, embedded, not linked.
- Barcode with a quiet zone, tested in the safe area, black on light — a barcode that fails the retailer's scan test is a recall of the whole print run.
- Closures marked on the dieline: zipper, valve, tear notch, hang hole, spout. Each one occupies real estate and must be kept clear of text.
- Regulatory text included, not forgotten — ingredient panels, weight statements, lot codes. Regulatory text is the most common last-minute addition and the one that moves every other element.
The proofing chain: PDF, film, physical pouch
A pouch proof is not one artifact — it is a chain, and each link answers a different question:
- Dieline (flat template). Confirms size, panel proportions and closure positions. Cheapest place to fix anything.
- Digital PDF proof. Confirms layout, text and color separation. Fast, but a screen is not a pouch — color on a backlit monitor is a promise, not a proof.
- Physical sample. A printed, laminated, made-up pouch you can fill, seal, boil, microwave or drop. This is the only proof that answers “does this structure actually work for my product?”
Our sampling turnaround is typically 5–7 days: stock-structure samples are free and you only cover the courier; fully customized prototype samples (your structure, your print) are US$120 for 1–2 pieces, credited against the production order. Never approve a valve position, a zipper feel or a spout fit from a PDF — the physical sample exists precisely for that.
Where volume changes the math
One more practical note, because artwork and print method are locked together. Rotogravure printing uses engraved cylinders — a one-off set-up per design, after which every reorder prints from the same cylinders, which is why second runs are cheaper and faster than first runs. Digital printing skips cylinders entirely and makes small runs economic — which is why our stock-size MOQ starts at 100–500 pieces for digitally printed pouches, while cylinder-based runs make sense from higher volumes. If you are early-stage, read our guide on customized pouches with low MOQ for the three-stage path from digital to gravure.
The decision rule is simple: the smaller and more changeable your volumes, the more digital makes sense; the bigger and more stable, the more gravure rewards you. Tell us your reorder pattern and we will quote both.
What to send for the fastest quote
Three facts move a quote faster than anything else: the product and its fill weight, the market it sells in, and your target quantity per run. Add a logo file and a rough bag size if you have them, and we can come back with a format proposal, a structure and an indicative price — usually within one working day. Artwork can come later; it is the last input before production, not the first.
Frequently asked questions
Can I supply one design file for every pouch size in my range?
Not directly — each size and format has its own dieline, so the design has to be rebuilt on each template. The elements carry over, but positions and panel proportions change. Send us the size list and we will issue one dieline per size so your designer can adapt once.
Will my Pantone color come out exactly?
Spot-color inks are mixed to your Pantone reference and checked against a wet proof before production, which is the closest match printing can offer — closer than CMYK simulation. Be aware that colors read slightly differently on metallized, kraft and clear films; if your brand color is critical, approve it on the actual film structure, not on white paper.
Can the ink touch the food side of the pouch?
No. On laminated pouches the ink is reverse-printed and sealed between film layers, so it never contacts the product. The food-contact layer is a separate, unprinted film selected for your product type — and its compliance documentation (FDA / EU) is part of what we supply with every food structure.
What file formats do you accept for print?
Vector AI or press-ready PDF for the design, with fonts outlined and images embedded at 300 dpi. We accept layered files for prepress adjustments. If your only asset is a low-resolution logo, tell us early — redrawing is routine, but it belongs in the schedule, not in the last week.
Do I pay for printing cylinders again on my second order?
No — cylinders are a one-off set-up for a given design and are reused on every reorder, which is why repeat runs are cheaper and faster than the first. If you change the artwork, the affected cylinders are re-engraved; if you only change a text detail, the change is usually smaller. Ask us to quote the reorder price separately so you can see the difference.
How long does the whole artwork-to-production path take?
Typical rhythm: dieline same day, digital proof a day or two after artwork arrives, physical sample 5–7 days, cylinder making and production after sample approval. The variable is almost always revision rounds at the artwork stage — which is why the file checklist above pays for itself.
Related reading
Related: Artwork and dieline support
Need your pouch artwork checked before print?
Send your logo file and target size — we issue the dieline, review printability and come back with a structure proposal and an indicative price, usually within one working day.